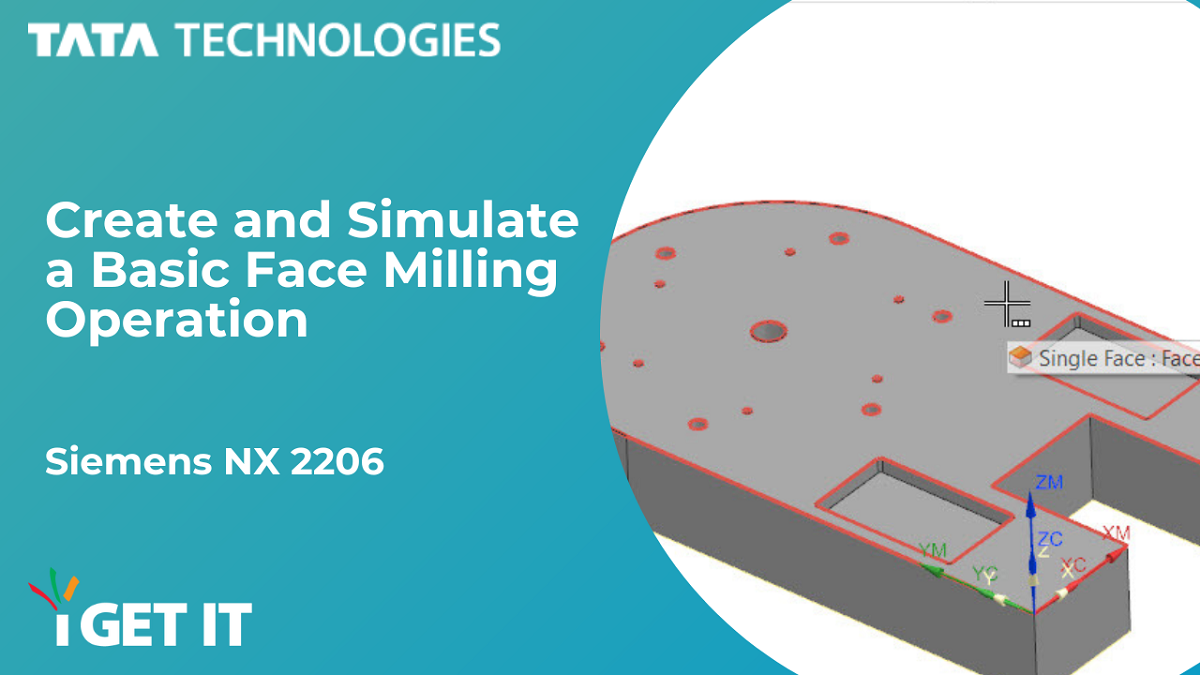
Overview
In this Tech Tip, we will discuss how to create a basic Planar Milling operation and simulate it in NX 2206 CAM application.
Firstly, lets briefly know what CAM application is?
Computer Aided Manufacturing (CAM) is the use of software and computer-controlled machinery to automate a manufacturing process and applications that run these CAM are CAM applications.
Follow the video and steps to know How to ‘Create and Simulate a Basic Face Milling Operation’ –
Step 1
Begin by opening a part that you want to mill and activate the Manufacturing application by clicking ctrl+alt+M or going to Application> Manufacture> Manufacturing.


Step 2

Click Operation Navigator on the Resource bar to display and access the Operation Navigator.
Step 3
Go to Program Order View in the Operation Navigator and notice that there is already a program defined, called SETUP_1.

Step 4 – Creating Tool

Select Home > Insert group > Create Tool
The Create tool window gets displayed.
Select the desired parameters depending on the required output.
An example has been demonstrated below:
Set the Type drop-down to mill_planar.
Select Mill in the Tool Subtype pane.
Enter Face_Mill_6.0 for Name.
Click OK

Step 5

The Milling Tool-5 Parameters dialog gets displayed.
Again,
Select the desired parameters depending on the required output.
An example has been demonstrated in image.
Click OK to create the tool.
Notice that the tool now will get listed in Operation Navigator.

Step 6 – Creating Planar Mill (face mill, specifically) operation
Select Home tab > Insert Group > Create Operation.
The Create Operation dialog box gets displayed.


Select the required parameters. For example:
- Set the Type drop-down to mill_planar.
- Select Floor Facing without Wall as the Operation Subtype.
- Set Program to SETUP_1
- Set Tool to FACE_MILL_6.0
- Set Geometry to WORKPIECE_1
- Set Method to MILL_FINISH
Enter Mill_Top_Face for the name.
Click OK.
Step 7
The Face Mill operation parameter dialog box gets displayed.
Click on the icon of Specify Cut Area Floor as highlighted above- this option asks to select the intended area of the blank geometry on which machining is required.
In the next dialog box called Cut Area, pick the Selection Method as Faces and select the face of the model that you want to mill.

Here, the top face is selected as shown below.

Click OK.
Step 8

Select Blank Geometry in the Blank pane, as the Workpiece used here is a blank geometry.
So, after defining all required parameters of operation, Click on Generate icon in the Action pane at the bottom, as shown below:


Notice the tool path displays on the top face of the part.
Click OK to accept the operation and notice that, in Machine Tool View, the operation Mill_Top_Face is a child of the tool Face_Mill_6.0.

Step 9 – Simulating Operation
To simulate the operation,
right click on Mill_Top_Face then select Tool Path> Verify


The Tool Path Visualization dialog gets displayed.
Click on 3D Dynamic tab and in Animation Speed pane, set the required speed and click Play, as shown.
The simulation of the material removal process will be as below

This is the basic overview of creating a basic Planar Milling operation and simulating it in NX 2206 CAM application.
About i GET IT
i GET IT is our Tata Technologies eLearning solution designed to teach engineers how to be better in using today’s leading MCAD (Mechanical Computer Aided Design) applications and design skills.
For more tech tips and in-depth eLearning for Siemens NX CAM, including this and new courses on other design solutions, please visit https://www.myigetit.com. You can sign up and get FREE Subscription when joining through SkillAdvisor to get our informative Newsletter.
Start your upskilling journey!
If you should have any questions, please reach out to iproducts@tatatechnologies.com or igetitsocial@tatatechnologies.com for help.


Leave a Reply