Overview:
This sample lesson is from our “PTC Creo Fundamentals“ course, Topic “Sketcher Palette” in Sketcher environment that explains about to quickly create predefined standard sketches like – polygons, C, I, L and T profiles and different commonly used shapes like racetrack, cross, oval, stars etc.
This tech tip explains about how to add custom sketches/shapes in sketcher palette which can be used in multiple part modeling.
Follow the video and detailed steps for better understanding –
Key Points:
- You should be in the part modeling and in active sketcher mode to access the sketcher palette
- The Sketcher Palette feature is located under the Sketching group in the Sketch tab
- You can use custom sketches/shapes in Sketcher Palette
- We can use custom-added sketches/shapes in multiple parts only when those parts are created or available under the same working directory
Step 1:
For this lesson, you can open any part you liked from the iGETIT part files. There is no specific file for this lesson. Though it must be a part file, or you can create a new part if you wish.
Step 2:
In Ribbon, select Model tab click on Sketch under Datum group

and select appropriate Plane as Sketch plane & Sketch orientation for Reference and Orientation in pop-out window.
Click on Sketch to enter into sketch mode and activate sketch tab in ribbon.

Step 3:
Select Palette feature from Sketching group in Sketch tab, as shown in the image below.

New Sketcher Palette window will pop-out and we will get 4 predefined sections along with sketches/shapes, as shown in the image below.

We can use these predefined sketches/shapes, while sketching.
Click on Close at Sketcher Palette window.
Note: In Palette, we can add any sketch which we are using multiple times or a shape/profile which will be used in multiple parts.
Step 4:

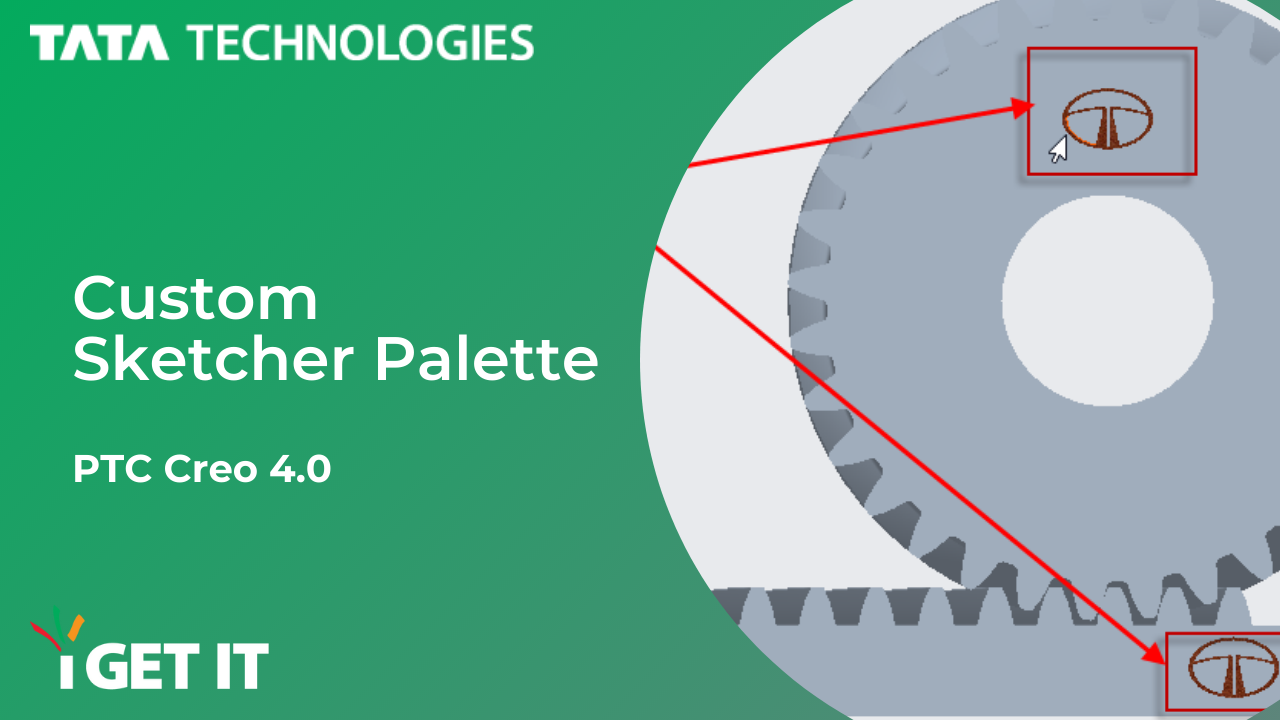
Sketch the profile which you want to add in Palette.
Here we have Tata Logo for reference which we will place on every part model.
Once you done with the sketch, do not exit from sketch mode.
Step 5:
In Ribbon, Click on File tab select Save to save the sketch (or you can click CTRL+S on keyboard to save sketch).
we can see the sketch is saved at set working directory.

Also, we can see the saved sketch has been added at Sketcher Palette under working directory name section.
You can save multiple number of sketches by following steps 4&5.
If you want to rename the saved sketch, you can rename them from the working directory folder for easy identification.

Now you can use this logo or other saved sketch in multiple parts only when all those parts are created or available under same working directory in which that sketch is saved.
Output –

About i GET IT
i GET IT is our Tata Technologies eLearning solution designed to teach engineers how to be better in using today’s leading MCAD (Mechanical Computer Aided Design) applications and design skills.
For more tech tips and in-depth eLearning for PTC CREO, including this and new courses on other design solutions, please visit https://www.myigetit.com. You can sign up and get FREE Subscription when joining through to get our informative Newsletter.
Start your upskilling journey!
If you should have any questions, please reach out to iproducts@tatatechnologies.com or igetitsocial@tatatechnologies.com for help.


Leave a Reply