Recently we posted “How to Shift Trim/Extend & Offset Work Plane on Sketch Creation | AUTODESK INVENTOR TIPS” and now we are sharing two new tips from our “120 Autodesk Inventor Tips” vault.
Our Autodesk Subject Matter Expert from i GET IT Learning created these 120 short tech tips to present at Autodesk University. Till now we have shared the first ten tips in PLM Tech Talk. To get access to tips go to – SkillAdvisor from i GET IT (myigetit.com) and choose your role and interested software relevant to you and subscribe and gain access to many other courses.
Follow the below videos and steps to get to know more –
120 Autodesk Inventor Tips –
#11 Auto Dimension

Use the Auto Dimension quickly complete a sketch and fully constrain the sketch geometry.
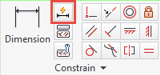
Sketch tab > Constrain panel > Automatic Dimensions & Constraints
It is recommended – that you place locating dimensions first.
You can select Curves (sketch geometry) to dimension and the dimensioning will only be applied to those curves.
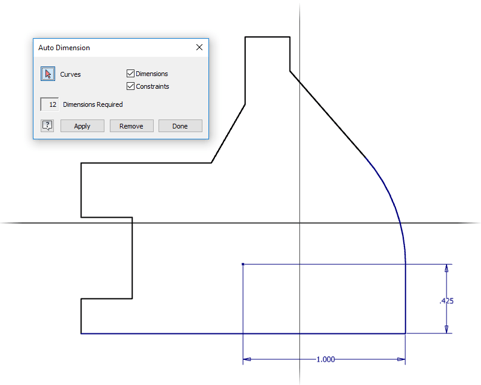

No selection will apply dimension to the entire sketch.
#12 Driven Dimension
Turn any sketch dimensional constraint into the Driven Dimension
- Right-click dimensional constraint
- Select Driven Dimension from Marking Menu
Dimension does not control sketch geometry
Can be referenced by other dimensions or Parameters

About i GET IT
i GET IT is our Tata Technologies eLearning solution designed to teach engineers how to be better at using today’s leading MCAD (Mechanical Computer-Aided Design) applications and design skills.
For more tech tips and in-depth eLearning for Autodesk, including this and new courses on other design solutions, please visit https://www.myigetit.com. You can sign up and get a FREE Subscription when joining through SkillAdvisor to get our informative Newsletter.
Start your upskilling journey!
If you should have any questions, please reach out to iproducts@tatatechnologies.com or igetitsocial@tatatechnologies.com for help.


Leave a Reply