Having a hard time remembering part sketches in CATIA? Tag them with ‘Text with Leaders‘ Tool.
This sample lesson from our 3DEXPERIENCE CATIA Drafting course explains how to add text with a leader to a drawing sheet.
Key Points:
You should be in the Drafting application. The feature is located under Annotation in the Section Bar and the text is created in the active view.
Step 1
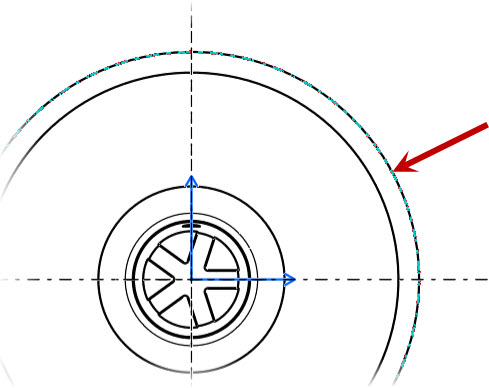
For this lesson you can open any drawing of your liking from the i GET IT download files. There is no specific file for this lesson. Though it must be a drawing file.
Step 2
Located under Annotation in the Section Bar. Go to the Action Bar and select the downward arrow for a pop up menu and select Text with Leader, as shown in the image below.

Step 3
CATIA prompts you to pick the leader start point. On the drawing, click on the location you want the leader to start.
Step 4
Drag the cursor to where you want the leader to end and click on the drawing sheet.
The Text Editor dialog displays.
In the Text Editor dialog, enter text. As you type in the box, the text appears on the drawing sheet where you specified. Click OK.


Step 5
You can use the circular corners and move value arrow to move and rotate the position of the arrow leader and text.
Step 6
When finished click in open area of Graphic Window to exit editing.

Step 7
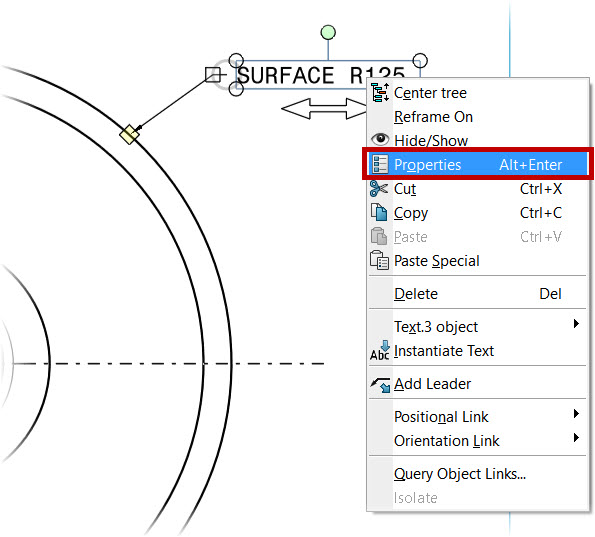
You can edit the leader line by moving your cursor over it and right mouse click and a Properties dialog will appear.


Step 8
You are also able to edit the arrow head and application zone by hovering your cursor over the yellow diamond and right click mouse button. Select on Symbol Shape to change the arrow head.


For more tech tips and in-depth eLearning for 3DEXPERIENCE and other popular engineering design tools and topics, please visit https://www.myigetit.com to explore more. There are affordable subscription plans to get started on your upskilling journey! If you should have any questions, please reach out to iproducts@tatatechnologies.com for help.


Leave a Reply